This post is part of a series of articles introducing Node.js.
- Part 1 : the basics (this tutorial)
- Part 2 : NPM
- Part 3 : Express.js
- Part 4 : Productivity Tools
Hi guys,
In my previous post, I wanted to introduce the SharePoint Framework and especially its modern toolchain. If you read it, you probably noticed that Node.js and its ecosystem take an important place in this toolchain. As SharePoint and .NET specialized developers, we are not all familiar with all the non-Microsoft technology trends such as Node.js. On my side, I started learning Node.js only a few months ago. However, according to me, Node.js really deserves attention for several reasons:
- It is a portable platform for implementing back-end software
- JS skills of front-end developers can be leveraged to develop back-end software
- Data structure can be easily reused on front and back end
- It gathers a wide variety of libraries and community members through NPM (Node Package Manager)
- As mentioned above, it is a big part of the SharePoint Framework.
What is Node.js
Node.js is a JavaScript runtime built on the Chrome V8 engine, programming techniques from front-end development is then used (event-driven, async IO,...). It is a runtime mainly used to develop network applications, it includes a HTTP library that allows, with only a few lines of code, to build a ready-to-use web server. It is very low level for handling raw HTTP requests and responses, but fortunately, there are frameworks such as Express that takes care of all the boilerplate for you.
Set up Node.js
You can install Node.js on all the main OS (Windows, Linux, MacOSX, ...). Download the installer for your platform here If you plan, sooner or later, to play with SPFx, prefer the LTS version.
Run my first Node program
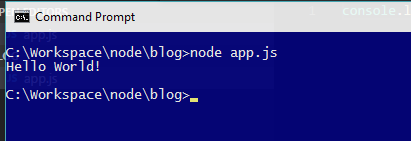
With your favorite text editor, create a new js file (e.g. app.js) containing the single line
console.log('Hello World!');

Open a terminal or a Windows Node console in your current directory, type
node app.js
Run my first Node server
In the same app.js file, replace the existing content by the following code
 // Include the Node HTTP lib
 const http = require('http');
 // Instantiate the server with the default request/response handler
 const server = http.createServer(function(req,res) {
   // Set the status and headers of the response
   res.writeHead(200, { 'Content-Type': 'text/plain' });
   // Write a message to the response stream
   res.write("Hello world!");
   // Close the response stream
   res.end(); });
   // The HTTP server listens on port 3000
   server.listen(3000);
In the console:
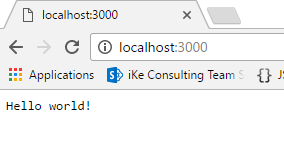
node app.js

From you browser, navigate to http://localhost:3000
My first Node request processing
Modify the code in app.js with the following
// Include the Node HTTP lib and url helper lib
const http = require('http');
const url = require('url');
const passwords = { "Yannick": "Foo", "Chris": "Bar", }
// Instantiate the server with the default request/response handler
const server = http.createServer(function(req,res) {
  // Parse the URL to get the query arguments
  let args = url.parse(req.url, true).query;
  // Write a specific message according to arguments
  if (args.pwd && args.login) {
    if (passwords[args.login] == args.pwd) {
      // Set the status and headers of the response
      res.writeHead(200, { 'Content-Type': 'text/plain' });
      res.write(`Hello ${args.login}`);
    } else {
      res.writeHead(403, { 'Content-Type': 'text/plain' });
      res.write("Incorrect password");
    }
  } else {
    res.writeHead(403, { 'Content-Type': 'text/plain' });
    res.write("Invalid credentials!");
  }
  // Close the response stream
  res.end();
});
server.listen(3000);
In the code above, we process arguments from the query string and apply some logic for the appropriate response to be sent. (Obviously, in a real-world case, passwords are never MUST NEVER BE passed in the query string ;) )


The low level of Node.js is a strength in some cases, but in many cases, it is pretty cumbersome to implement some simple tasks. You will see in the next posts how to build more complex applications more easily using NPM and Express
See you soon
Yannick

